What is the Best Recipe for Chocolate Covered Caramels?
When it comes to indulgent treats, few things can compete with the delightful combination of chocolate and caramel. Indeed, the smooth, rich chocolate perfectly complements the sweet, buttery caramel, creating a dessert that’s hard to resist. In this article, I’ll guide you through my favorite Chocolate Covered Caramels Recipe, sharing tips, tricks, and personal anecdotes along the way.
Why This Chocolate Covered Caramels Recipe is a Must-Try
You might be wondering why you should take the time to make chocolate covered caramels at home. Well, let me tell you, there’s something truly magical about crafting your own sweets. Not only do they taste better than store-bought options, but you also have complete control over the ingredients. This means you can customize the flavors and textures to suit your preferences.
Moreover, making chocolate covered caramels can be a fun and rewarding experience. I remember my first attempt at making them; it was a delightful journey filled with excitement and anticipation. The joy of watching the mixture transform into a beautiful golden hue was unforgettable, and the aroma that filled my kitchen made the experience even more special.
Ingredients for the Perfect Chocolate Covered Caramels
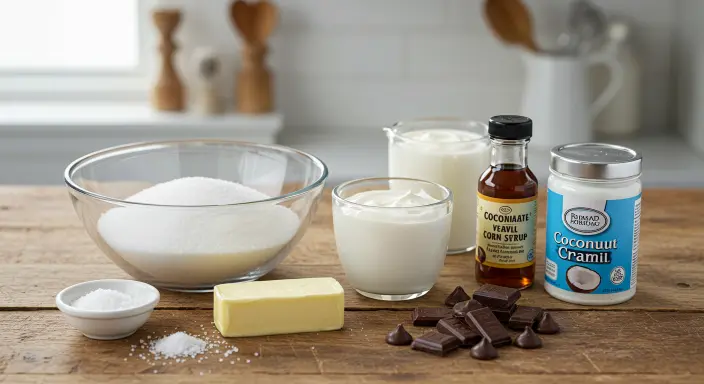
To create your own chocolate covered caramels, you’ll need a handful of simple ingredients. Here’s what you’ll need:
For the Caramel:
- 1 cup granulated sugar
- 6 tablespoons unsalted butter
- 1/2 cup heavy cream
- 1/4 cup light corn syrup
- 1/4 teaspoon salt
- 1 teaspoon vanilla extract
For the Chocolate Coating:
- 2 cups chocolate chips (dark, milk, or semi-sweet, depending on your preference)
- 1 tablespoon coconut oil (optional, for a smoother coating)
Optional Toppings:
- Sea salt for sprinkling
- Chopped nuts for added texture
- Crushed cookies for a fun twist
These ingredients are easy to find and can be adjusted based on your taste preferences. For instance, if you love dark chocolate, feel free to use dark chocolate chips for the coating.
Step-by-Step Guide to Making Chocolate Covered Caramels
Step 1: Prepare Your Workspace
Before you begin, it’s essential to prepare your workspace. Gather all your ingredients and tools, including a heavy-bottomed saucepan, a candy thermometer, a spatula, and a baking sheet lined with parchment paper. This will help ensure a smooth cooking process.
Step 2: Make the Caramel
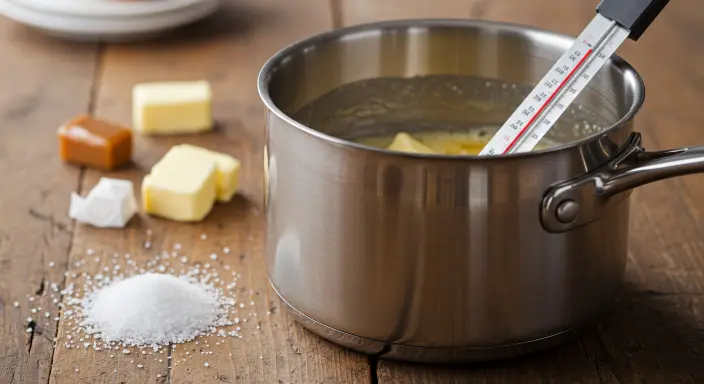
- Combine the Ingredients: In a heavy-bottomed saucepan, combine the granulated sugar, butter, heavy cream, corn syrup, and salt. Stir the mixture over medium heat until the sugar has dissolved.
- Cook the Caramel: Once the sugar has dissolved, increase the heat and bring the mixture to a boil. Use a candy thermometer to monitor the temperature. You’ll want to cook the caramel until it reaches 240°F (115°C), which is the soft-ball stage.
- Add Vanilla: Once the mixture reaches the desired temperature, remove it from the heat and stir in the vanilla extract. Be careful, as the mixture will bubble up when you add the vanilla.
- Pour into the Mold: Quickly pour the caramel into your prepared baking sheet or mold. Allow it to cool completely, which usually takes about 1-2 hours.
Step 3: Cut the Caramel
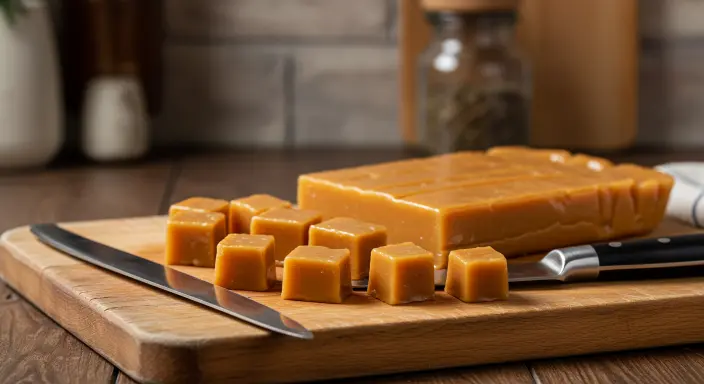
Once the caramel has cooled and set, it’s time to cut it into pieces. Use a sharp knife to cut the caramel into squares or rectangles, depending on your preference. If the caramel is sticky, you can lightly grease the knife with cooking spray to make cutting easier.
Step 4: Prepare the Chocolate Coating
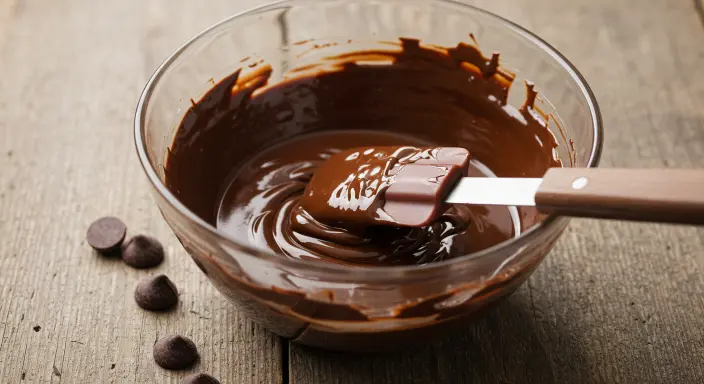
- Melt the Chocolate: In a microwave-safe bowl, combine the chocolate chips and coconut oil (if using). Microwave in 30-second intervals, stirring between each interval until the chocolate is completely melted and smooth.
- Dip the Caramels: Using a fork or dipping tool, dip each piece of caramel into the melted chocolate, ensuring it’s fully coated. Let any excess chocolate drip off before placing the coated caramel back onto the parchment-lined baking sheet.
- Add Toppings: If you’re using toppings like sea salt or chopped nuts, sprinkle them on top of the chocolate-coated caramels before the chocolate sets.
Step 5: Let the Chocolate Set
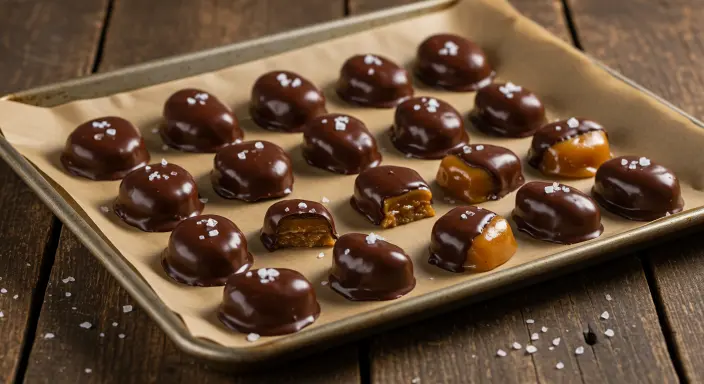
Once all the caramels are coated, allow the chocolate to set at room temperature. If you’re in a hurry, you can place the baking sheet in the refrigerator for about 20-30 minutes to speed up the process.
Step 6: Enjoy!

After the chocolate has set, your homemade chocolate covered caramels are ready to be enjoyed! Store them in an airtight container at room temperature for up to two weeks (if they last that long!).
Tips for Achieving the Best Chocolate Covered Caramels
Creating the perfect chocolate covered caramels takes practice, but here are some tips to help you achieve the best results:
Use a Candy Thermometer
Investing in a Good Candy Thermometer
Investing in a good candy thermometer is absolutely essential for making caramel. This tool ensures that you cook the caramel to the correct temperature, which is crucial for achieving the right texture. Moreover, using a thermometer helps eliminate guesswork, allowing you to focus on other aspects of the process.
Don’t Rush the Process
When it comes to making caramel, it’s important to remember that this can be a delicate process. Therefore, take your time and don’t rush through the steps. In addition, allow the caramel to cool completely before cutting it, as this will help maintain its shape and prevent any unwanted mess.
Experiment with Flavors
Feel free to experiment with different flavors and ingredients to elevate your caramel. For instance, you can add a splash of bourbon or rum to the caramel for a unique twist, or you might incorporate flavored chocolate for the coating. Ultimately, the possibilities are endless, and experimenting can lead to delightful surprises!
Keep Your Workspace Clean
Since caramel can be quite sticky, it’s important to keep your workspace clean and organized throughout the process. As a best practice, wipe down surfaces as you go to prevent any messes from piling up. By doing so, you’ll create a more enjoyable cooking experience and make cleanup much easier.
How to Customize Your Chocolate Covered Caramels Recipe
One of the best parts of making chocolate covered caramels at home is the ability to customize them. Here are some ideas to inspire your creativity:
Salted Chocolate Covered Caramels
For a sweet and salty treat, sprinkle a pinch of sea salt on top of the chocolate coating before it sets. The contrast of flavors is simply divine!
Nutty Chocolate Covered Caramels
If you love nuts, consider adding chopped nuts to the chocolate coating. Almonds, pecans, or walnuts make great additions and add a delightful crunch to each bite.
Chocolate Covered Caramels with a Twist
Try adding different flavors to the caramel, such as espresso or orange zest. These variations can elevate your chocolate covered caramels to a whole new level.
Layered Chocolate Covered Caramels
For a more sophisticated look, consider layering your caramels with different types of chocolate. Start with a layer of dark chocolate, let it set, then add a layer of milk chocolate for a beautiful two-tone effect.
Serving Suggestions for Chocolate Covered Caramels
Chocolate covered caramels make a fantastic treat for any occasion. In addition, here are some serving suggestions to consider:
As Party Favors
One delightful way to present chocolate covered caramels is to wrap individual pieces in decorative cellophane or place them in small boxes. This not only makes them visually appealing but also turns them into thoughtful party favors. Consequently, they are perfect gifts for birthdays, weddings, or holidays.
On a Dessert Platter
Another great idea is to arrange your chocolate covered caramels on a dessert platter. By doing so, you can place them alongside other treats like cookies, brownies, and fudge. This creates an inviting display for guests, encouraging them to indulge in a variety of delicious sweets.
With Coffee or Tea
Furthermore, serving chocolate covered caramels alongside a warm cup of coffee or tea can elevate the experience. The combination of flavors enhances the overall enjoyment, making for a cozy treat that’s perfect for any gathering or quiet evening at home.
Storing Your Homemade Chocolate Covered Caramels
To keep your chocolate covered caramels fresh, it’s important to follow these storage tips:
Room Temperature
First and foremost, store your caramels in an airtight container at room temperature. In this way, they should stay fresh for up to two weeks. However, just be sure to keep them away from direct sunlight and heat, as these can affect their quality.
Refrigeration
If you live in a warm climate, then consider refrigerating your caramels to prevent them from becoming too soft. That said, be aware that refrigeration can sometimes alter the texture of the chocolate, making it a bit less smooth. Therefore, it’s a trade-off between maintaining firmness and preserving texture.
Freezing
For even longer storage, you can freeze chocolate covered caramels. To do this, place them in an airtight container or freezer bag, separating the layers with parchment paper to prevent sticking. As a result, they can last for up to three months in the freezer, allowing you to enjoy them at a later date without sacrificing flavor.
FAQ ABOUT Chocolate Covered Caramels Recipe
Do chocolate and caramel taste good together?
Absolutely! The combination of rich chocolate and sweet caramel creates a delightful contrast that many people love. The smoothness of chocolate complements the chewy texture of caramel, making it a favorite pairing in desserts. Additionally, the balance of flavors enhances the overall experience, resulting in a treat that is hard to resist.
Is caramel chocolate a thing?
Yes, caramel chocolate is a popular treat. Many confectioneries create chocolate bars filled with caramel, offering a delicious blend of flavors. This combination has become a staple in various candies and desserts, appealing to those who enjoy the harmony of sweet and creamy.
Why is chocolate and caramel called turtle?
The term “turtle” refers to a type of candy that features chocolate-covered pecans and caramel, resembling the shape of a turtle. The name reflects the candy’s appearance and the flavors it combines, which are beloved by many. Turtles are often enjoyed during holidays and special occasions, making them a nostalgic treat for many.
Is caramel in the chocolate family?
While caramel is not technically part of the chocolate family, it is often paired with chocolate in various desserts. Caramel is made from sugar and cream, while chocolate is derived from cacao beans. However, their combination creates a harmonious flavor profile that many enjoy, leading to countless recipes that feature both ingredients.
Conclusion
In conclusion, making your own Chocolate Covered Caramels Recipe is not only rewarding but also a delightful experience. With quality ingredients and a little patience, you can create these sweet treats that are sure to impress. Whether you enjoy them yourself or gift them to others, chocolate-covered caramels are a timeless indulgence that brings joy to any occasion. So gather your ingredients and get started on this delicious journey today!
For those looking for more delicious recipes, including a tasty fish dish, check out this link for a delightful addition to your culinary repertoire.
Final Thoughts
As you embark on your journey to create the perfect Chocolate Covered Caramels, remember that practice makes perfect. Each batch will teach you something new, and soon you’ll be able to customize your recipe to suit your tastes. Enjoy the process, and most importantly, savor every bite of your delicious creations. Happy cooking!


4 thoughts on “What is the Best Recipe for Chocolate Covered Caramels?”